Settings
A reference to every Settings screen in Rezolve Ai, what each one controls, and whether it applies to you or to the project.
This page lists every category in Settings, in the order the Settings sidebar shows them, with a link to the full guide where there is one.
Open Settings
Click Settings at the bottom of the left sidebar. The Settings sidebar lists the categories, and the one you pick opens on the right. API Keys, just below Settings, is a shortcut to the Developer console.
Yours or the project's
Settings come in two kinds:
| Kind | Categories | What it means |
|---|---|---|
| Yours | Account & Profile, Localization, Security | They follow you. They are the same whichever project is open, and you can reach them even before you have a project. |
| The project's | Everything else | They belong to the project selected in the top bar. Switch project and you see that project's settings. |
In a shared project, owners and editors can change project settings. Approvers and viewers can read them. Managing the team is for owners only. See Team and Roles.
Account and profile
Account & Profile is about you, not the project. Open it.
- Profile: your display name and company, as your team sees them.
- Email address: the address you sign in with.
- Password: change your password, or set one if you signed up another way.
- Connected accounts: link a Google sign-in so you can get back in without a password.
- Active sessions: Sign out of all other devices ends every other signed-in browser. Use it after changing your password.
- Export my data: Export downloads a file with your projects, products, content and settings.
- Delete entire account: permanently deletes your whole account and every project in it. See Data and privacy before you use it.
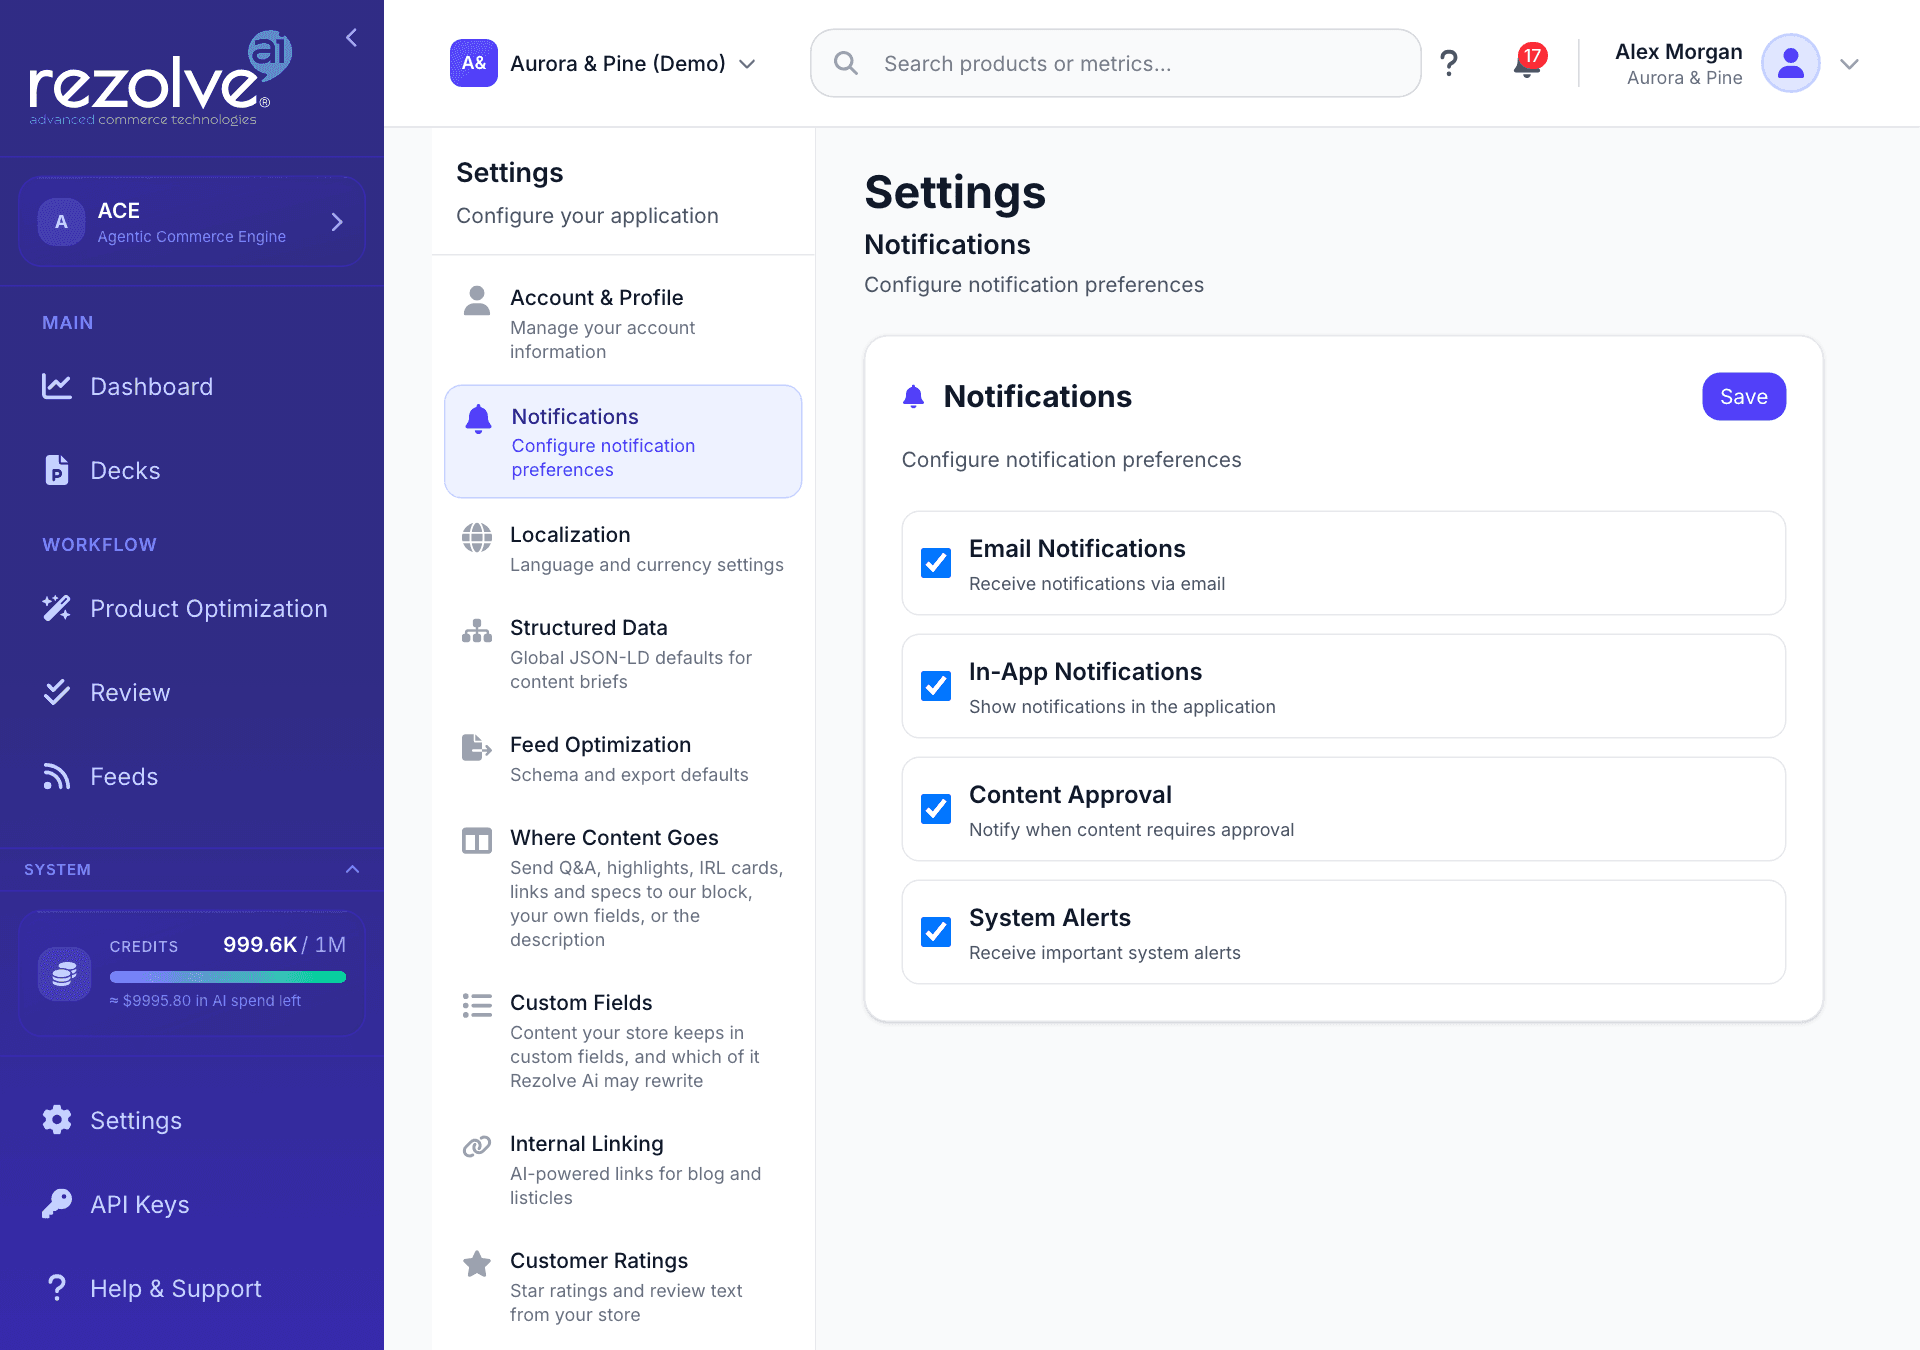
Notifications
Notifications sets what the project tells you about, and how. Open it.
| Setting | What it controls |
|---|---|
| Email Notifications | The master switch for email. When it is off, the project sends no email of any kind. |
| In-App Notifications | Notifications shown inside the app. |
| Content Approval | Emails about content that needs approval or is ready, and the emails teammates get for approval requests, mentions and assignments. |
| System Alerts | Emails sent when one of your alert rules is triggered. |
Tick the ones you want and click Save. All four start switched on.
Notifications in the app appear behind the bell in the top bar, with All and Unread tabs. Clicking one takes you to the thing it is about: the review item, the article, or the alerts page.
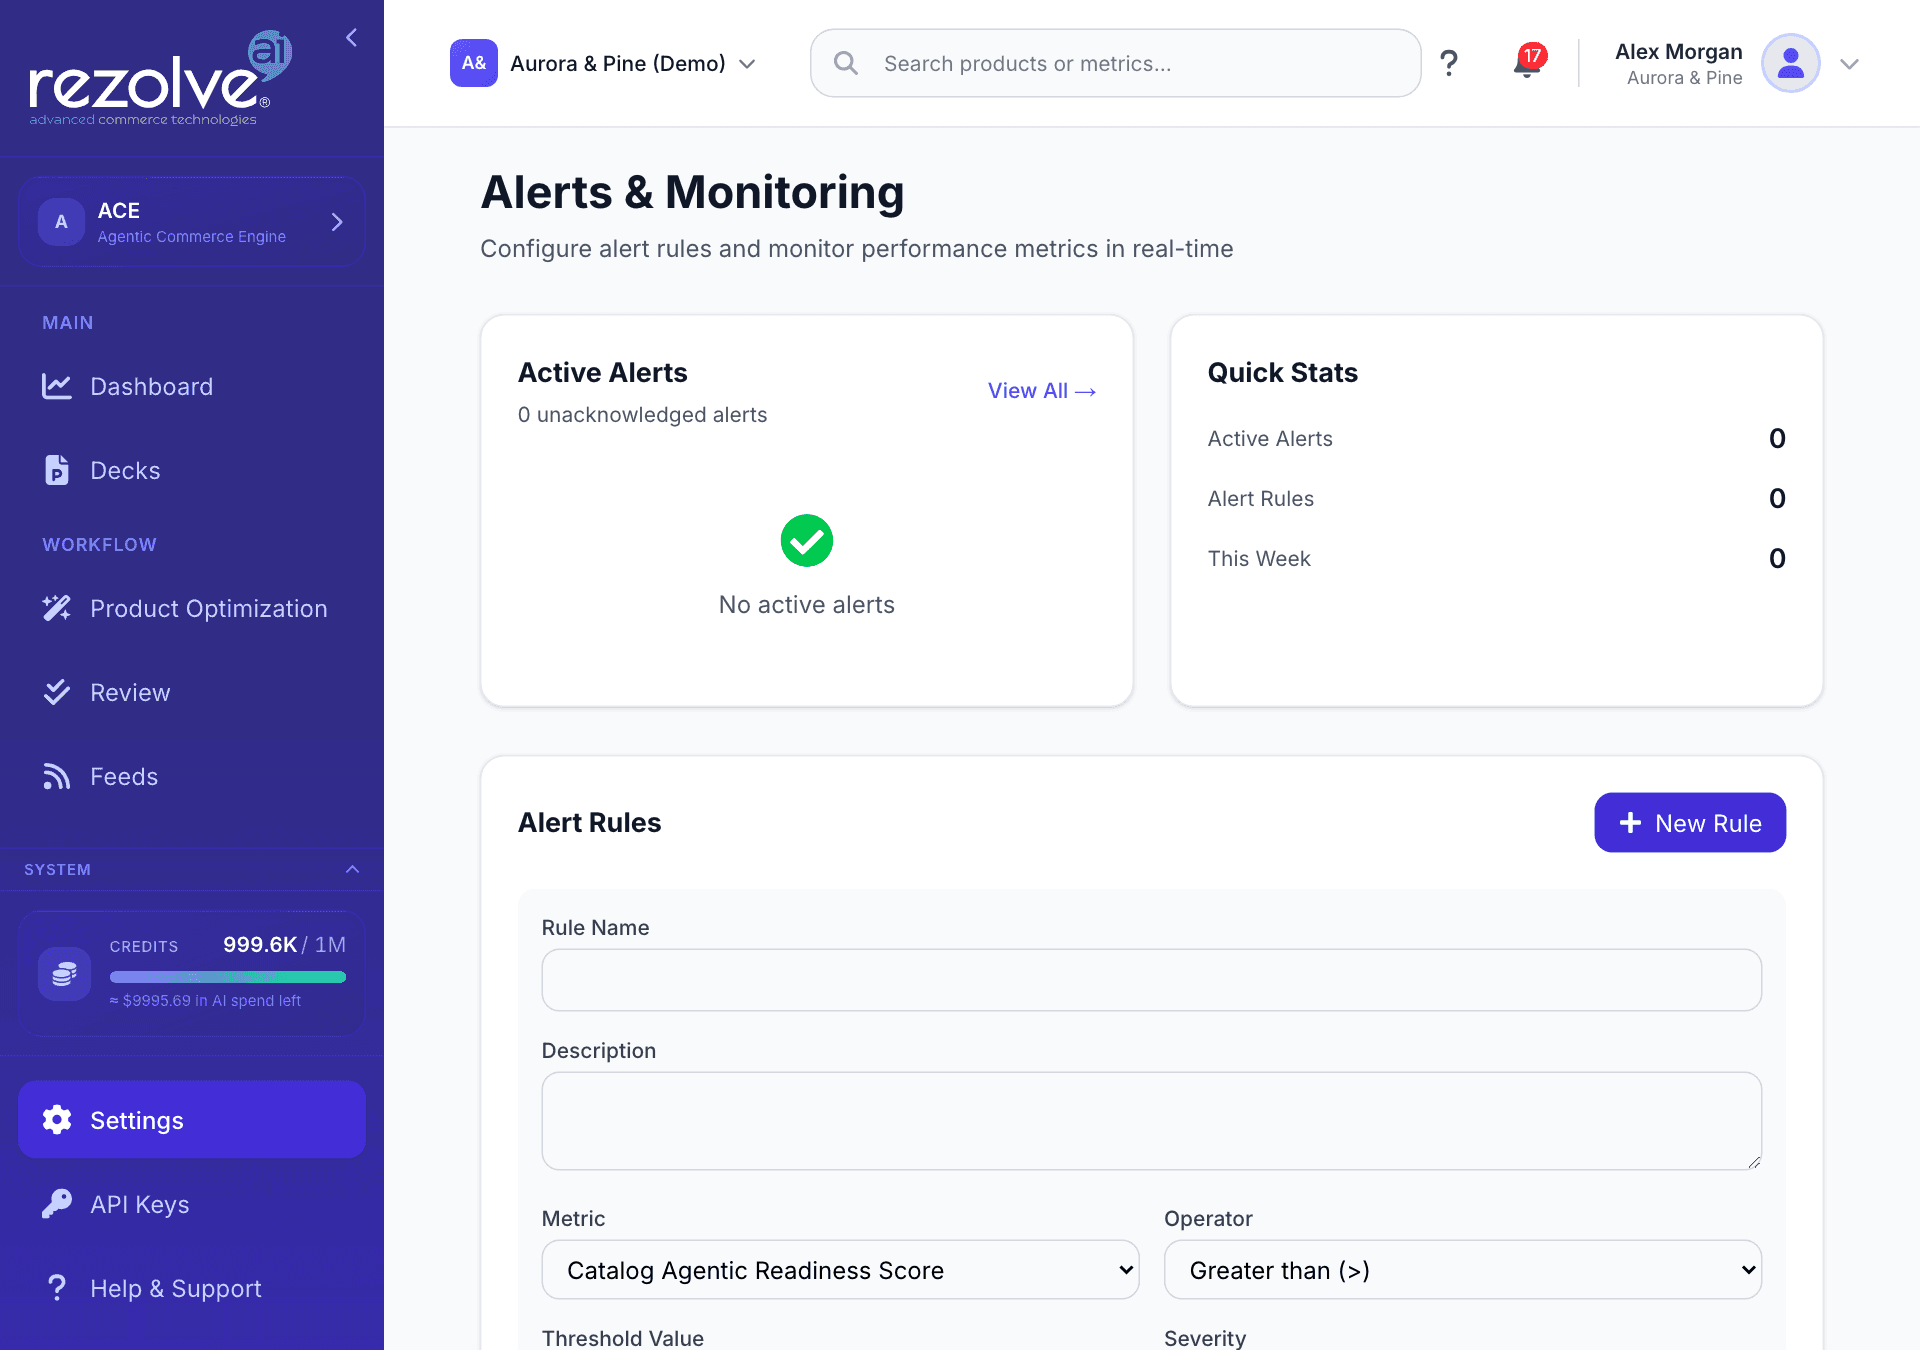
Alerts
Alerts watch a number for you and tell you when it crosses a line you set. They live on their own page, Alerts & Monitoring (open it). You also reach it from an alert notification, and from Set up an alert on the History tab of Agentic Readiness.
To create a rule:
- Under Alert Rules, click New Rule.
- Give it a Rule Name, and a description if you want one.
- Choose the Metric: your brand's mention rate in AI answers (this needs AI Search research), the catalog's agentic readiness score, your site's agent readiness score, level or regressions, your site's commerce readiness score, data completeness, or total products.
- Choose the Operator (greater than, less than, equals, or percentage change) and the Threshold Value.
- Choose a Severity: Info, Warning or Critical.
- Set the Cooldown (minutes), the gap before the same rule can alert again.
- Click Create Rule.
The page also shows Active Alerts, Quick Stats, and an Alert History you can filter by severity and by whether an alert was acknowledged or resolved. While any alert is active, a red dot shows beside Settings in the sidebar.
Localization
Localization is yours, not the project's. Open it.
- Preferred Language: the language used for content generation and for the interface.
- Preferred Currency: how prices are shown in the app and in analytics.
Each saves as soon as you change it.
Structured data
Structured Data shows the defaults that go into the structured data of your articles: the organization (name, website, logo), the default author, the brand name, the default locale, and whether FAQ schema is switched on. Open it.
The screen is a summary. To change any of it, click Edit in Brand profile, which opens the Brand view described under Brand styles.
Feed optimization
Feed Optimization holds the defaults for the feeds you export: the Target Schema (Google Shopping, Agentic Commerce, Microsoft Shopping or Shopify), Field Defaults such as URL patterns and policy URLs, and Export Settings. Open it. See Feeds.
Where content goes
Where Content Goes decides where Q&A, highlights, IRL scenario cards, internal links and specifications are placed: in the Rezolve Ai block, in one of your own fields, or inside the product description. It needs a connected Shopify or WooCommerce store. Open it, or read Custom Fields and Where Content Goes.
Custom fields
Custom Fields lists the content your store keeps in custom fields, lets you leave any of it out, and lets you choose fields for Rezolve Ai to rewrite. It needs a connected Shopify or WooCommerce store. Open it, or read Custom Fields and Where Content Goes.
Internal linking
Internal Linking switches AI-suggested links on or off for Content Hub articles and sets how many links a piece may carry, what they can point to, and how closely a target has to match. Open it, or read Internal Linking.
Customer ratings
Customer Ratings shows the star ratings and review text Rezolve Ai holds for your products, and controls where more of them come from. Ratings feed the rating in your product structured data and the rating fields in your channel feeds. Open it.
Coverage is what has arrived so far: the share of your catalog that has a rating, the number of rated products, the number of review texts, and when ratings were last collected. Under that, a count for each source, and a sample of recent ratings. Click Refresh to reload it.
Ratings can come from four sources:
| Source | Where it comes from |
|---|---|
| Store plugin | Read during a Shopify or WooCommerce sync. |
| Product feed | Rating columns in a product feed you upload. |
| API | Sent by a developer through the API. |
| Store crawl | Read from your own product pages, when you switch it on. |
Read ratings from your store. Tick Enable the nightly store crawl to have Rezolve Ai read the ratings your product pages already publish, for products no other source covers. It needs a website set on your Brand profile, and it only visits pages on that domain. You can set how often it rechecks, how many pages it reads per run, and how many requests it makes at once. Keep the last one low to stay gentle on your store. Ratings found this way are used in channel feeds, but are never written back onto the same page as structured data.
Which source wins. When several sources hold a rating for the same product, the most trusted and most recent one is used. Click the sources in the order you trust them, most trusted first. Leave them all off for the default order: the API, then your store plugin, then your feed, then the crawl.
Include review text in channel feeds is off by default. Star ratings and review counts are always included in feeds. The words your customers wrote are only sent to other channels if you turn this on, and text found by the store crawl is never sent.
Click Save settings to keep your changes.
Product groups
Product Groups lists your saved product groups. Open it.
A group is a saved way of choosing products, not a saved list of them. It re-reads your catalog each time it is used, so products added to a category since you saved the group are included.
You create a group while setting up an experiment: choose the products, then save the selection under a name. See Experiments. On this screen you can:
- Read each group's definition in words, and how many products it matched when it was last counted.
- Rename a group with the pencil icon.
- Delete a group with the bin icon.
Deleting or changing a group does not affect an experiment that is already running. A running experiment keeps the products it started with.
Security
Security is a short screen explaining that webhooks are created and managed through the API, with a link to your API keys. Open it. Developers can read Webhooks.
Developer console
The Developer console is where API keys live. It has seven tabs: Keys, Quickstart, MCP, OAuth, Usage, Logs and Playground. Open it.
Most merchants only need it once, to create the key that connects the Shopify app or the WordPress plugin. See Find your API key. The Usage tab also shows your credit balance. See Credits and Usage.
Data management
Data Management lists the product feeds uploaded to the project, each with its upload date, product count, size and any warnings. Open it.
For each feed you can:
- Download the file, with the download icon.
- Delete the feed, with the bin icon. This permanently deletes the feed and all of its products, and cannot be undone.
- Open Hosted feed URLs to give a channel an address to fetch instead of uploading a file. Choose the channels under Publish to, then click Turn delivery on. The feed at that address carries the copy you approved and refreshes whenever you approve more. Anyone with the address can read the feed, so use New URL to replace one that was shared by mistake.
In projects that are not connected to Shopify, Manage categories… opens the category tools for your feeds.
See Feeds and Connecting data sources.
Brand styles and the Brand view
Your brand is set in two places. The Brand view on the Dashboard holds who you are and how you sound. Brand Styles in Settings holds how you look.
Brand styles
Brand Styles are the visual guidelines for AI-generated images and content: colors and fonts. Open it.
- Click Add Style.
- Give it a Name and a Description.
- Build the Color Palette: pick a color and click the plus button to add it. Hover over a color and click the cross to remove it.
- Enter a Heading Font and a Body Font.
- Click Save.
You can keep several styles. Click the star on one to make it the Default. Use the pencil to edit a style and the bin to delete it.
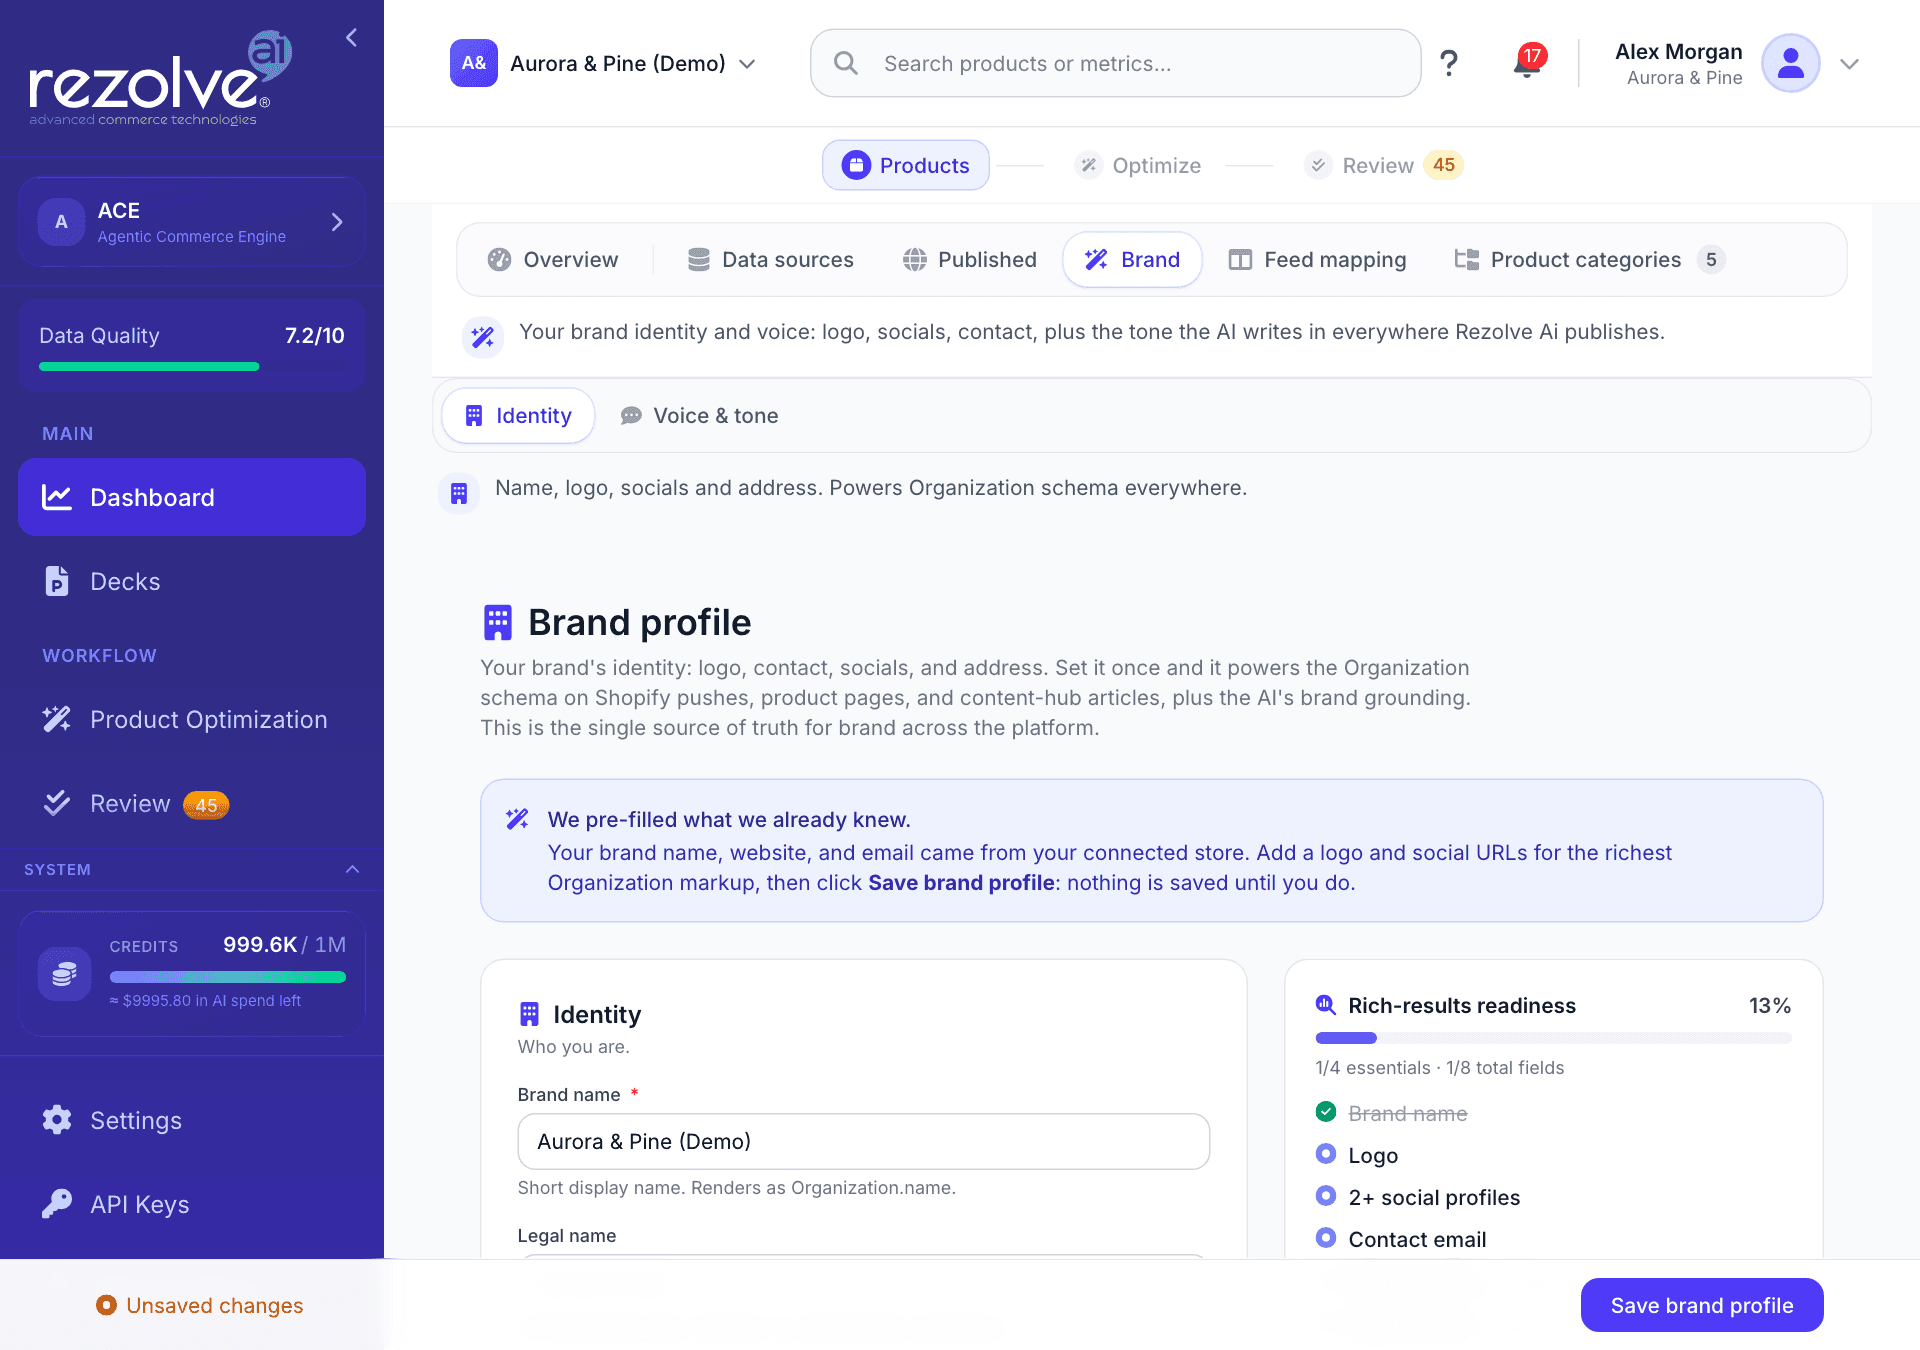
The Brand view
Go to Dashboard, Brand (open it). It has two tabs.
Identity is your brand profile: name, legal name, description, logo, website, email, phone, social profiles and address, plus the publishing defaults for articles (default author and default locale). It feeds the organization details in your structured data and keeps the AI grounded in who you are.
- Scan my website fills in brand details from your homepage. Enter your Website URL first. After the scan, a note lists what was filled in. Check it before you save.
- The panel on the right shows how complete the profile is, a preview of the structured data it produces, and Where this is used.
- Nothing is saved until you click Save brand profile.
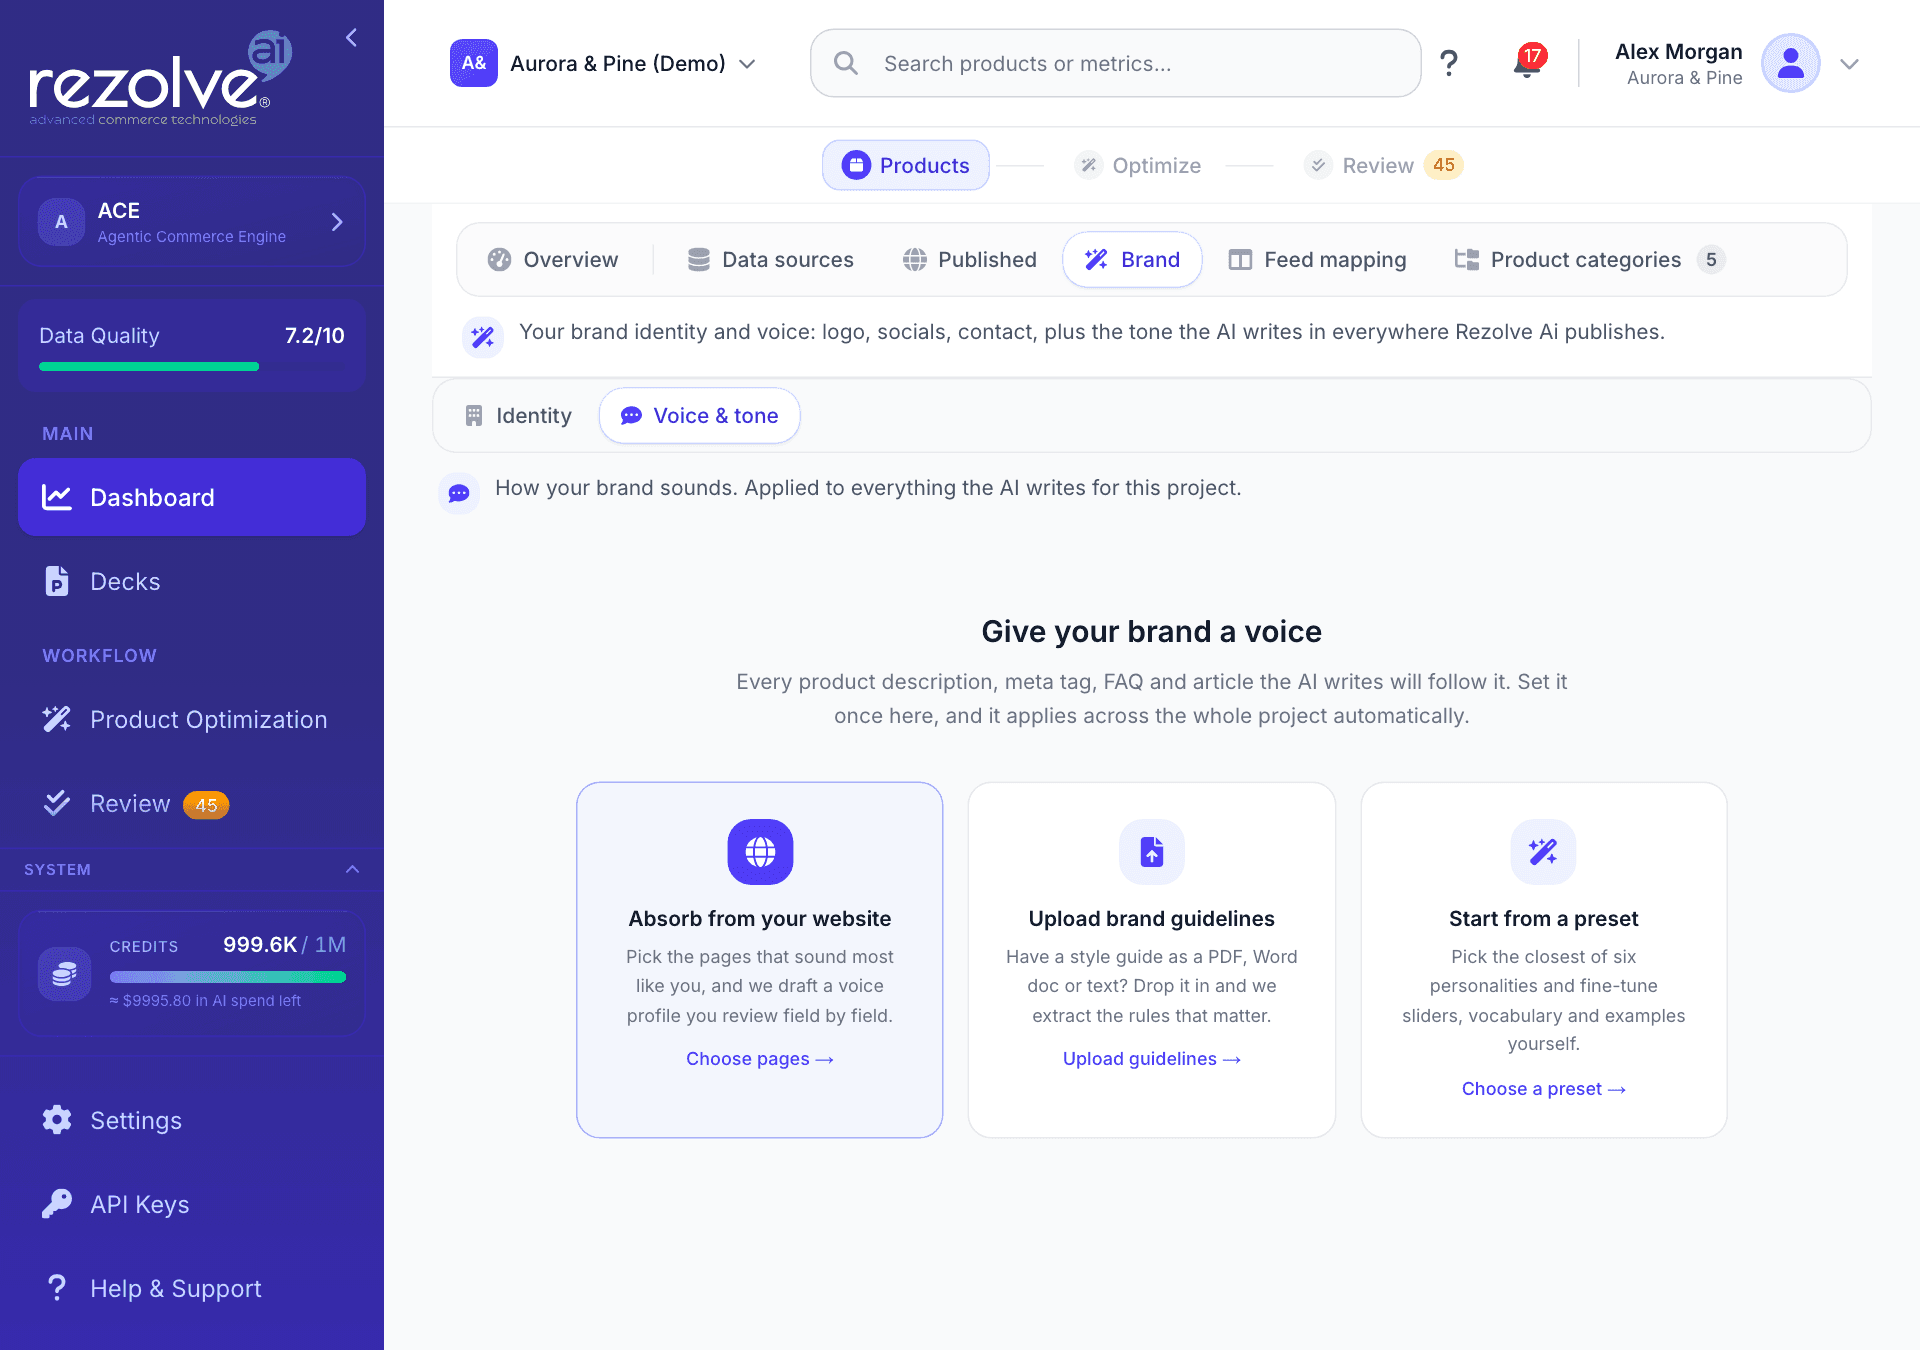
Voice & tone is how your brand sounds. One voice is applied to everything the AI writes for the project. If you have not set one, you choose how to start:
| Option | What it does |
|---|---|
| Absorb from your website | You pick the pages that sound most like you, and Rezolve Ai drafts a voice profile for you to review field by field. |
| Upload brand guidelines | You upload a style guide as a PDF, Word document or text, and Rezolve Ai extracts the rules that matter. |
| Start from a preset | You pick the closest of six personalities and adjust it yourself. |
After that you can edit every part by hand: tone, personality and audience, key messages, preferred terms and words never to use, examples of what does and does not sound like you, and grammar preferences. Click Save voice to keep your changes, or Discard to drop them. Absorb your voice at the top runs the website option again.
Confidence routing
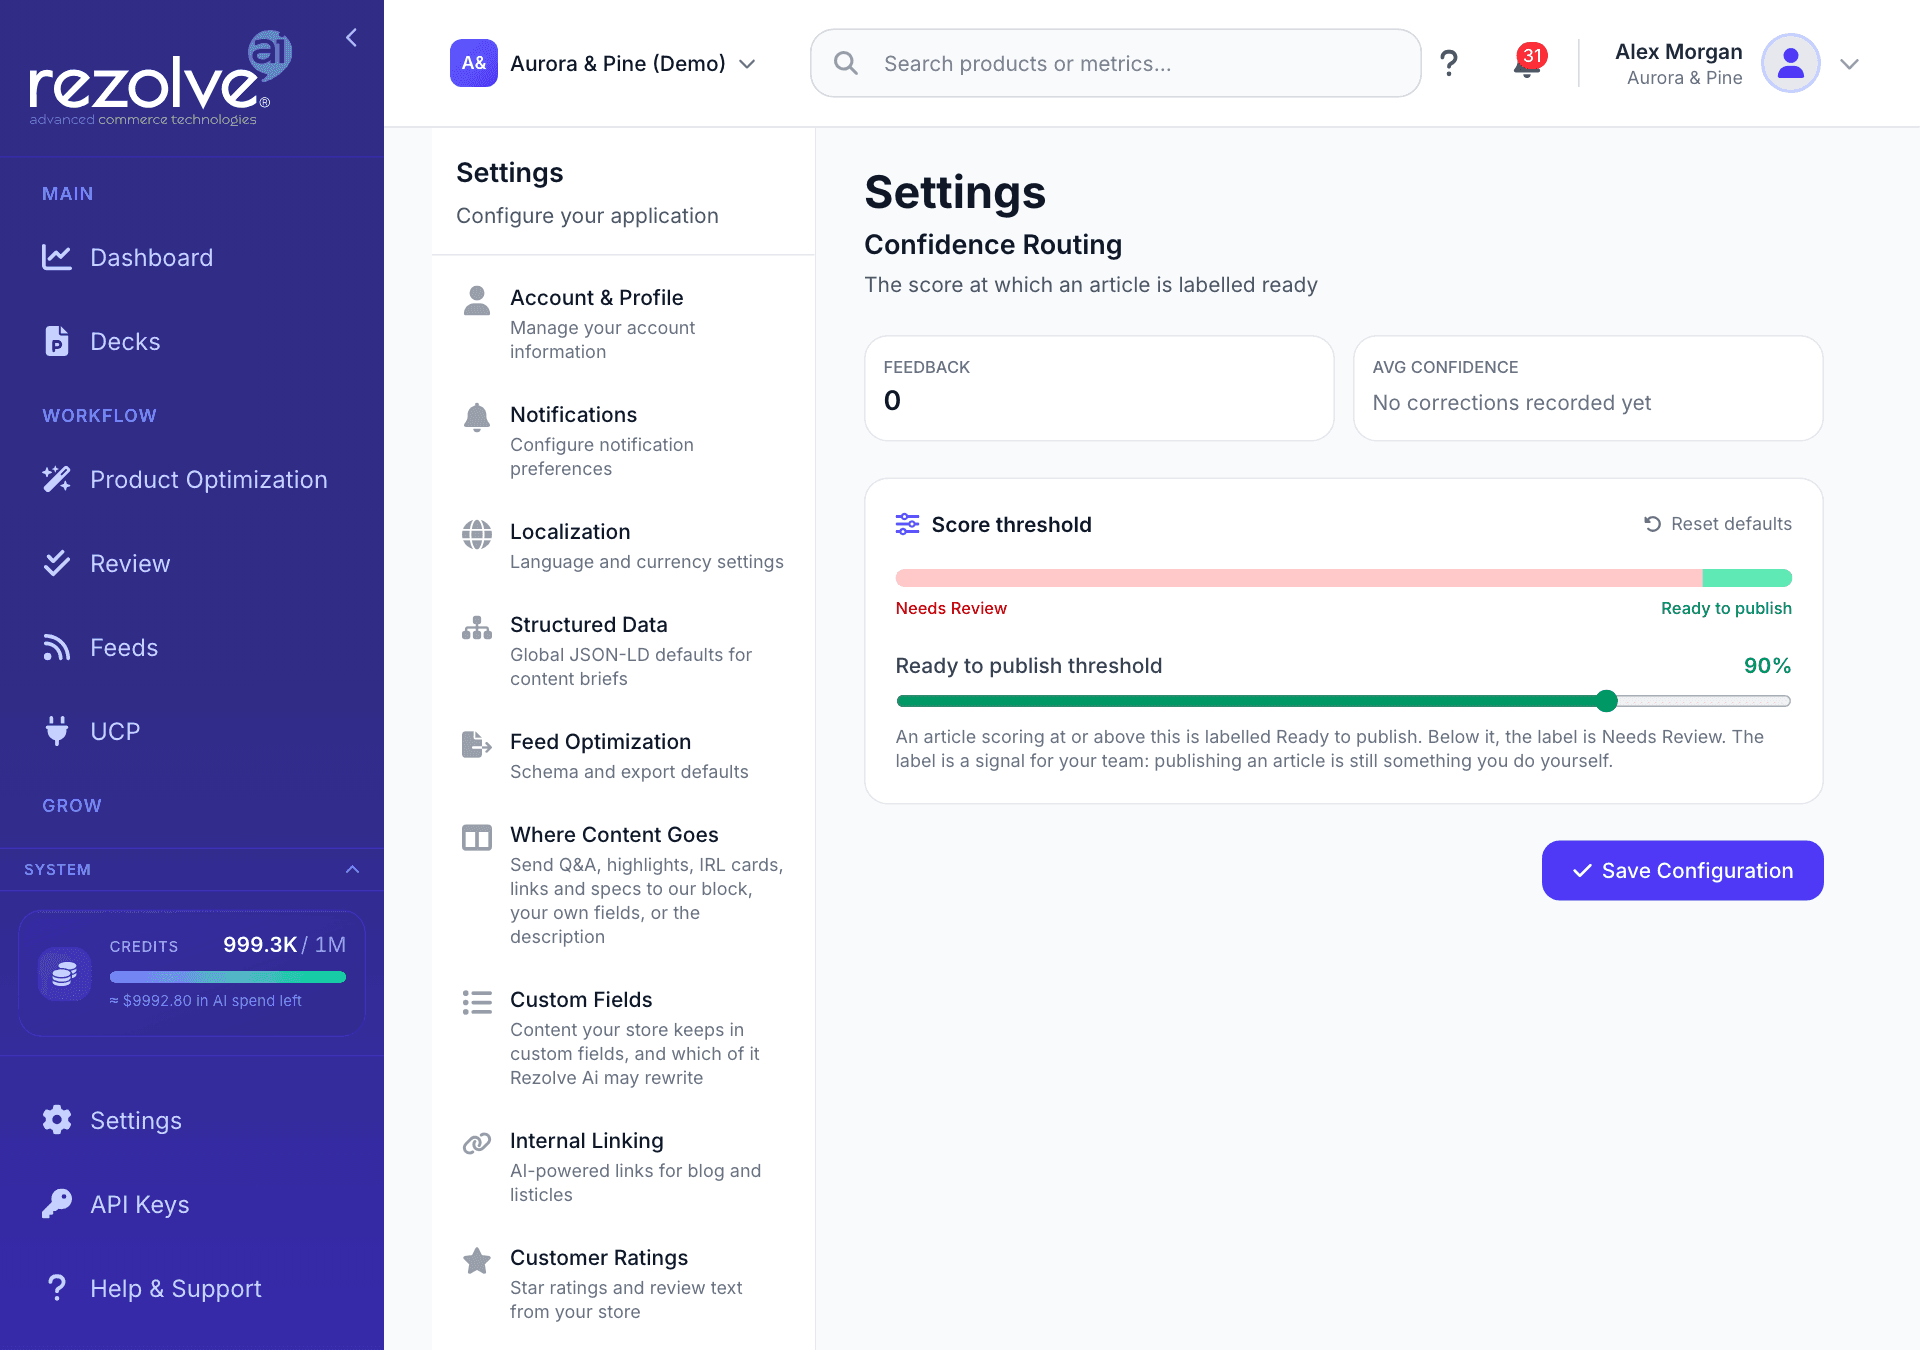
Confidence Routing sets the score at which an article is labelled ready. Open it.
Articles in Content Hub carry a content score out of 100. The Ready to publish threshold slider (50 to 100, starting at 90) sets the line: an article scoring at or above it is labelled Ready to publish, and one below it is labelled Needs Review. Use it to show your team which drafts still need a close read.
The setting changes the label. Publishing an article is still something you do yourself.
The screen also shows Feedback and Avg Confidence, when there are corrections to measure them from.
Click Save Configuration to keep your change, or Reset defaults to go back to the starting value.
Team
Team is where an owner invites people, sets their roles, and turns on Require a separate approver. Open it, or read Team and Roles.
Activity
Activity is the project's audit trail of approvals, publishing and team changes. Owners and approvers can see it. Open it, or read The Activity log.
Data and privacy
Data & Privacy holds two things for the project you have open. Open it.
Sharing test results. When one of your controlled tests finishes, Rezolve Ai keeps two numbers from it: how much the change moved the metric, and how certain that figure is. Pooled with other stores, those numbers improve the forecasts everyone sees. No product data, page addresses, traffic figures, revenue or shopper data are included, and nothing in the pool can be traced back to you. Untick Share this project's test results to improve forecasts to stop sharing. It changes nothing else, and you still benefit from the pooled results.
Delete project. This permanently deletes the current project and everything in it, including its feeds, products and settings. Only the person the project belongs to can delete it.
- Check the project name shown on the screen is the one you mean.
- Click Delete Project.
- Type
deleteto confirm, then click Delete project.
You land on your next project, or on onboarding if that was your last one.
Deleting a project cannot be undone. Deleting your account is a separate and bigger step: it removes every project you own.
Export your data
To take a copy of your data, go to Settings, Account & Profile and click Export under Export my data. The download contains your projects, products, content and settings across the whole account, not just one project.
Delete your whole account
Also under Settings, Account & Profile:
- Find Delete entire account.
- Type your account email to confirm.
- Click Delete my account, then confirm.
You are signed out, and the account and all of its projects are removed in the background. This cannot be undone. If you only want to remove one project, use Delete project above. It keeps your account and your other projects.
Quick links
Credits and Usage
What a credit is, where to see your balance, what uses credits and what is free, and how billing works for stores installed through Shopify.
Frequently Asked Questions
Short answers to the questions merchants ask most about connecting, credits, review, publishing, AI Search and experiments.